In this guide, we will show you how you can configure the Outlook app to work with DAVx⁵. It’s a simple process, but it has some steps which may not be as intuitive as they should.
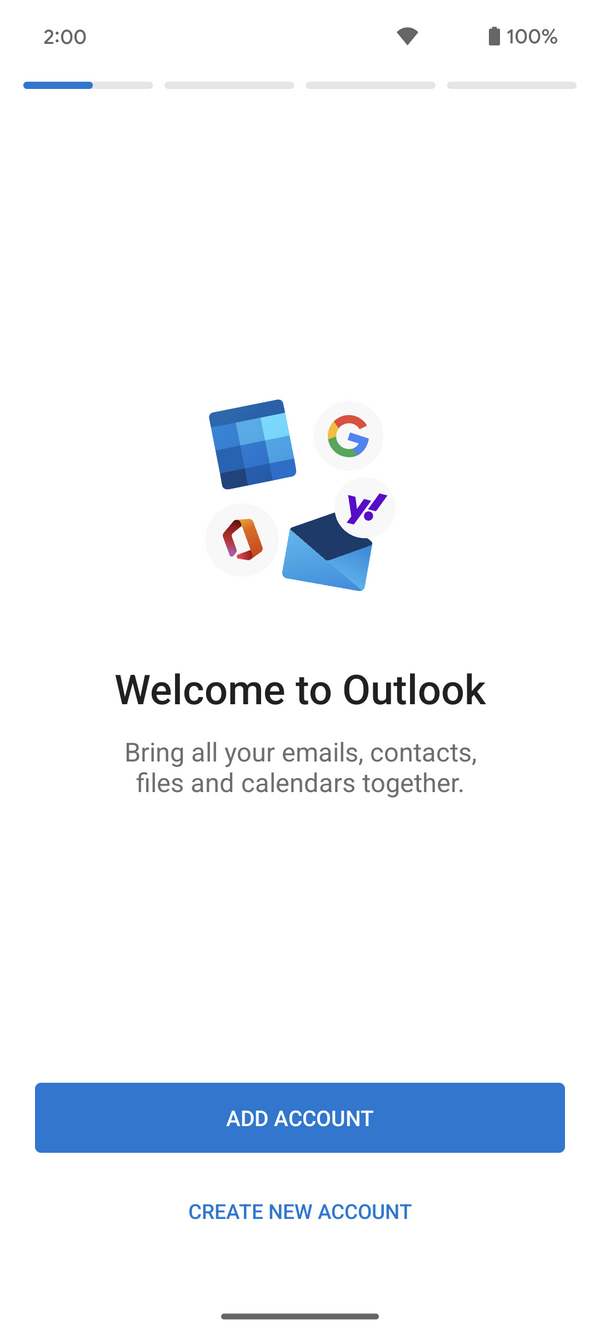
First of all, download and install the Outlook app on your device, you will be received with an screen somewhat like this:
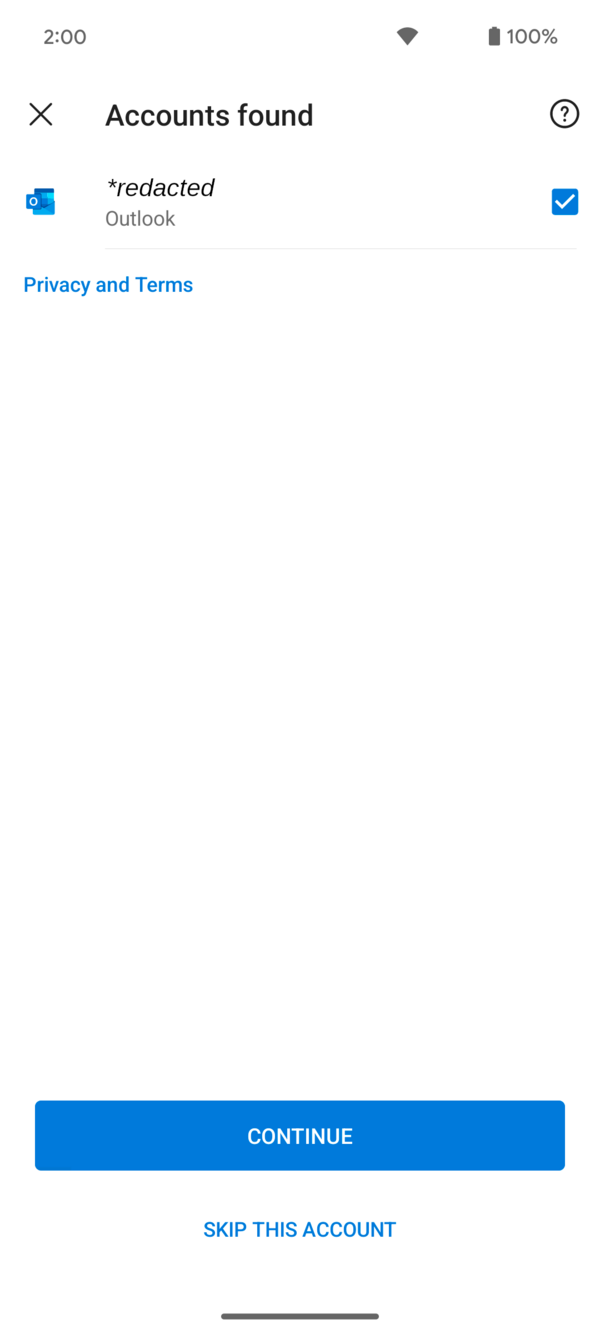
In this case, Outlook has already detected an account on our device, so we can simply continue. Otherwise you will need to add one manually, please, do so.
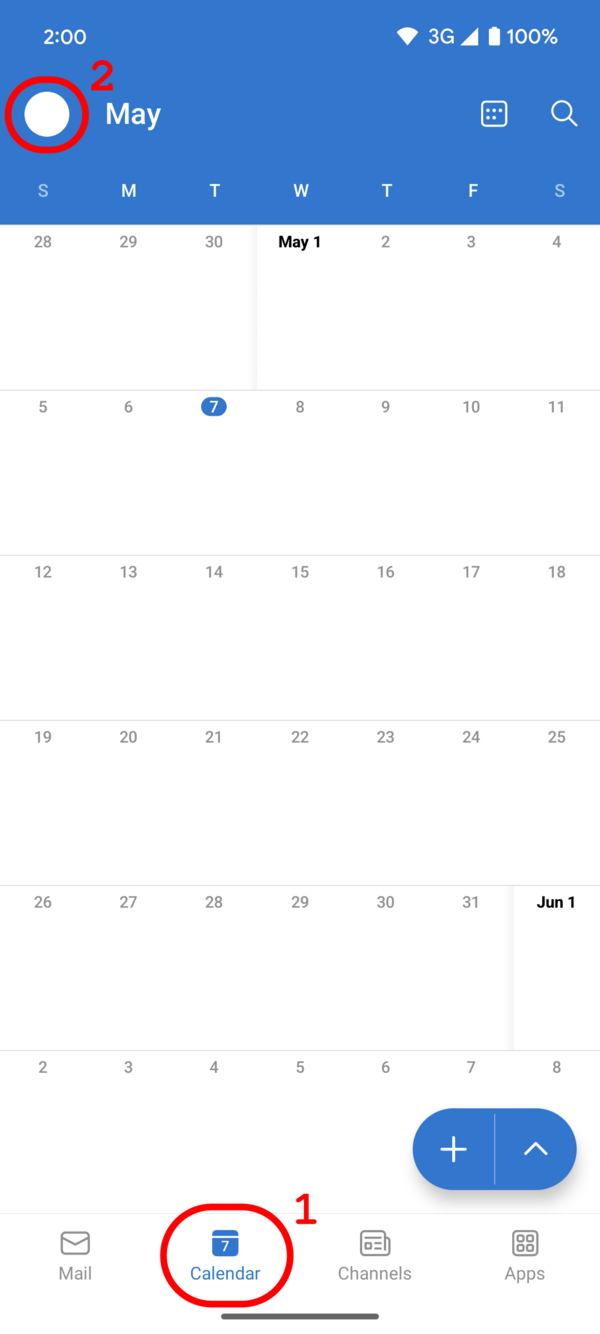
Once you have completed this step, you will be greeted with the email page. Please, select the calendar option in the bottom navigation bar. Then, on the top-left corner, tap on your profile picture. A popup will appear from the left side:
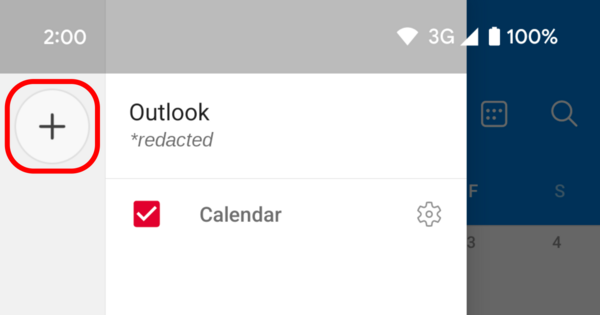
On the drawer, tap the top-left “plus” icon.
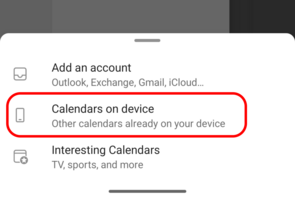
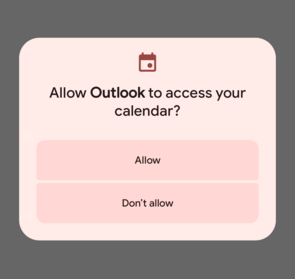
And on the bottom sheet, choose the option in the middle “Calendars on device”. And grant it permission to access your device’s calendar.
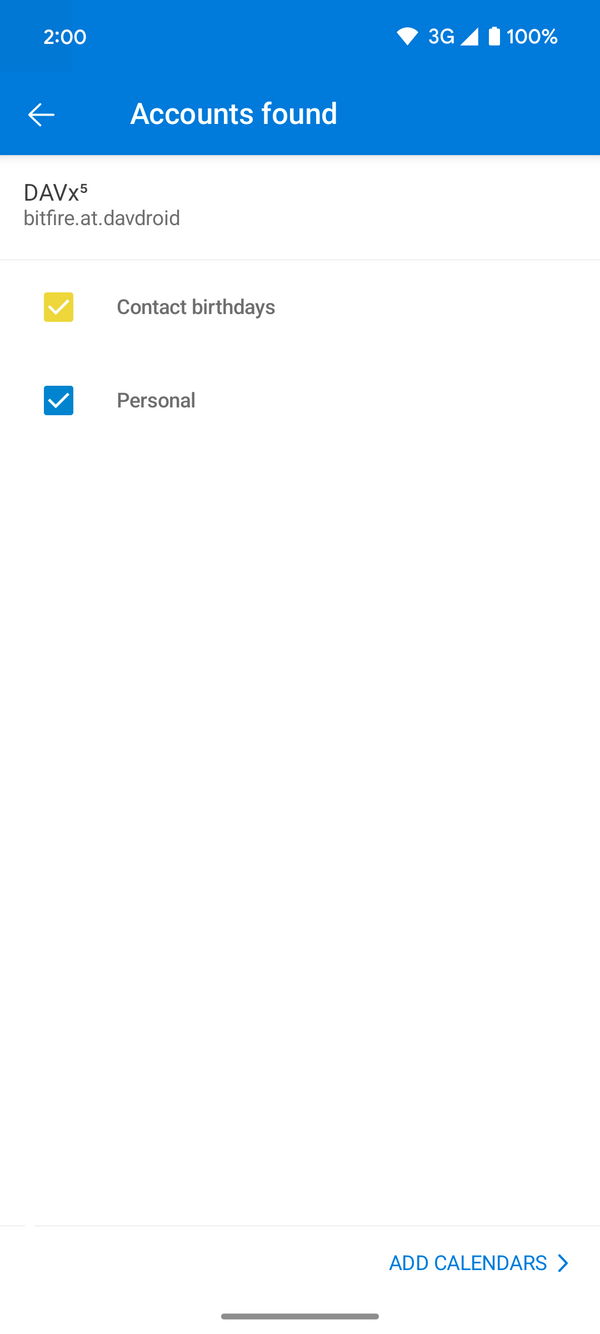
Now, enable the desired accounts that you have synchronized in DAVx⁵, and tap the “Continue” button:
Now the calendars will be synchronized with Outlook, and they will show on the side panel from before:
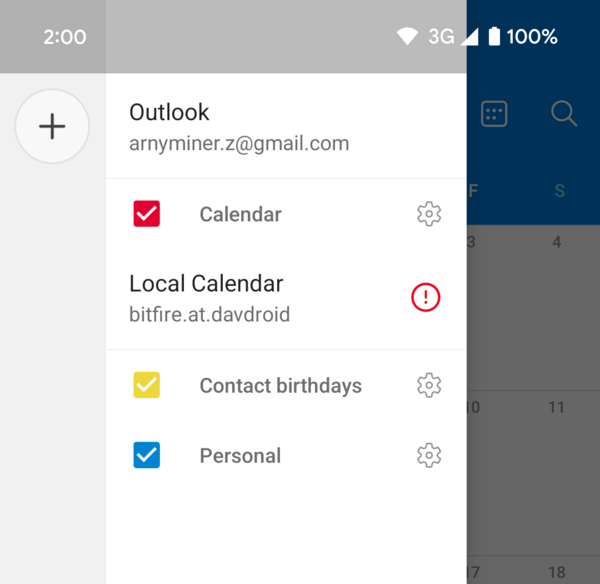
Note: you can safely ignore the red exclamation mark next to the calendar’s name.
It’s pretty common that events are not showing up right now in the calendar view. To fix the issue, simply restart the app, and they will be loaded correctly.
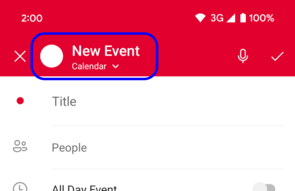
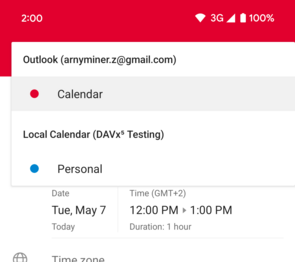
To create a new calendar event, remember to select the correct account by clicking the top bar on the event creation screen. Then, select the synchronized account.
